
Seven Figure Agency member resource
The Monthly Webinar Method
Watch the training first. Everything you need to run it every month is in the four resources below.
Implementation resources
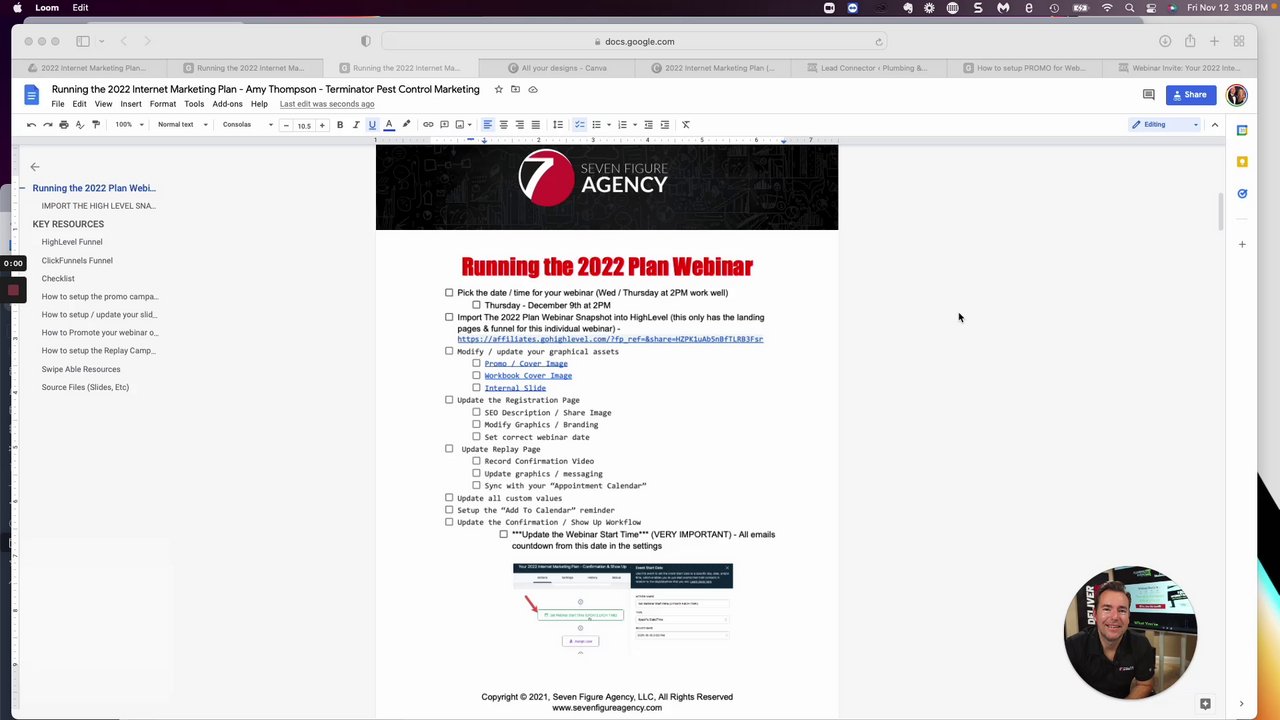
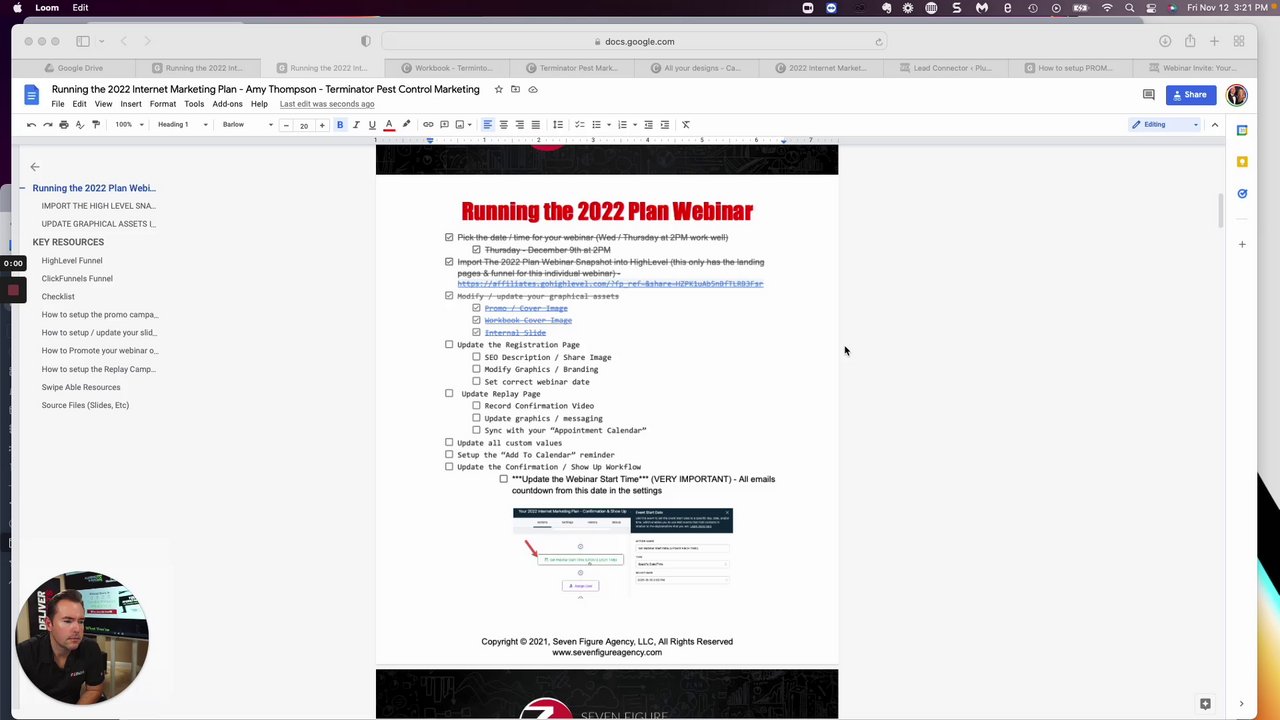
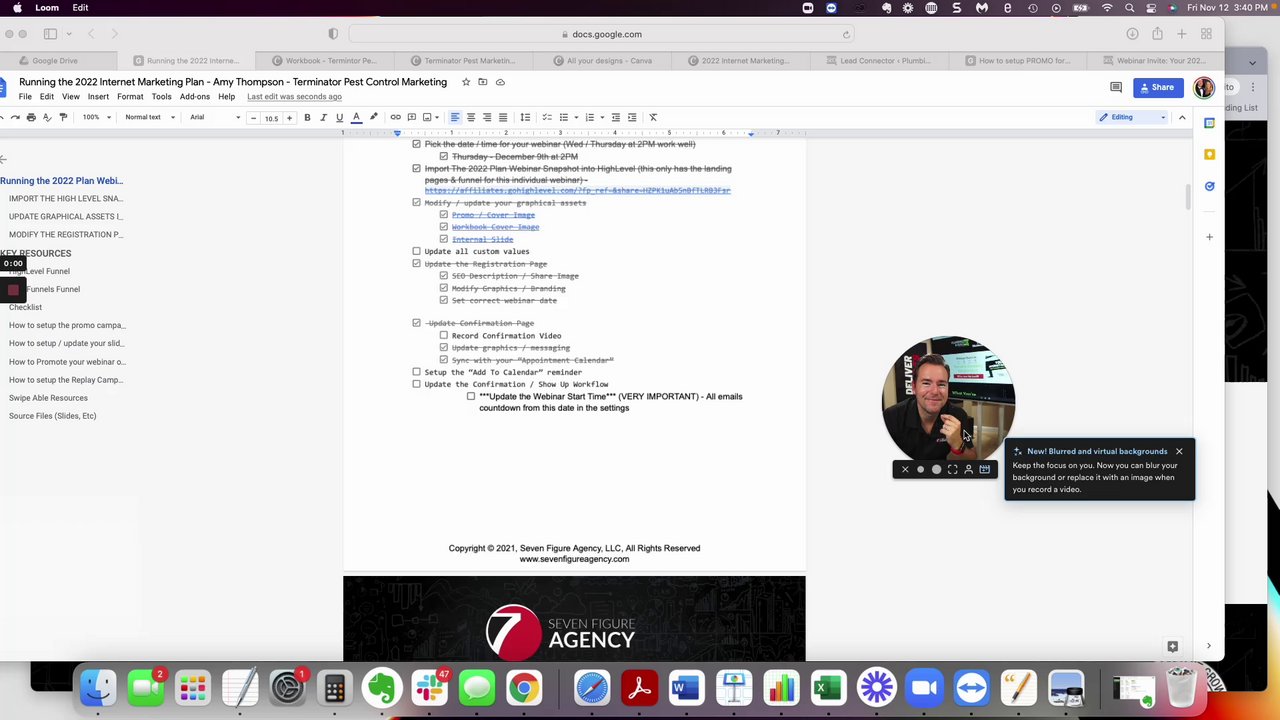
Full checklist
Every step of the month in order, from picking the topic to kicking off the replay campaign. Check items off and the page remembers your progress.
Open the checklistSetting up the webinar funnel in HighLevel
Import the snapshot, build the registration, confirmation, and replay pages, and set up the confirmation, show-up, and promo workflows. A video walkthrough for each step.
Open the funnel setupSwipe and deploy presentation files
Complete kits for eight proven topics: the deck, setup instructions with promo copy, editable cover and internal graphics, and a recording of the webinar as delivered.
Open the swipe filesSyndication playbook
What happens after the webinar: YouTube, email blast, blog post and podcast episode, short clips, social, and the long-term nurture. The step-by-step process your team runs.
Open the playbookEverything above comes from the Monthly Webinar Method workbook. It has three tabs: Overview (funnel pages, checklist, walkthrough videos, email sequences), Presentation Swipe Files, and Syndication Playbook. Open it and choose File, then Make a copy, to get your own.
The full checklist
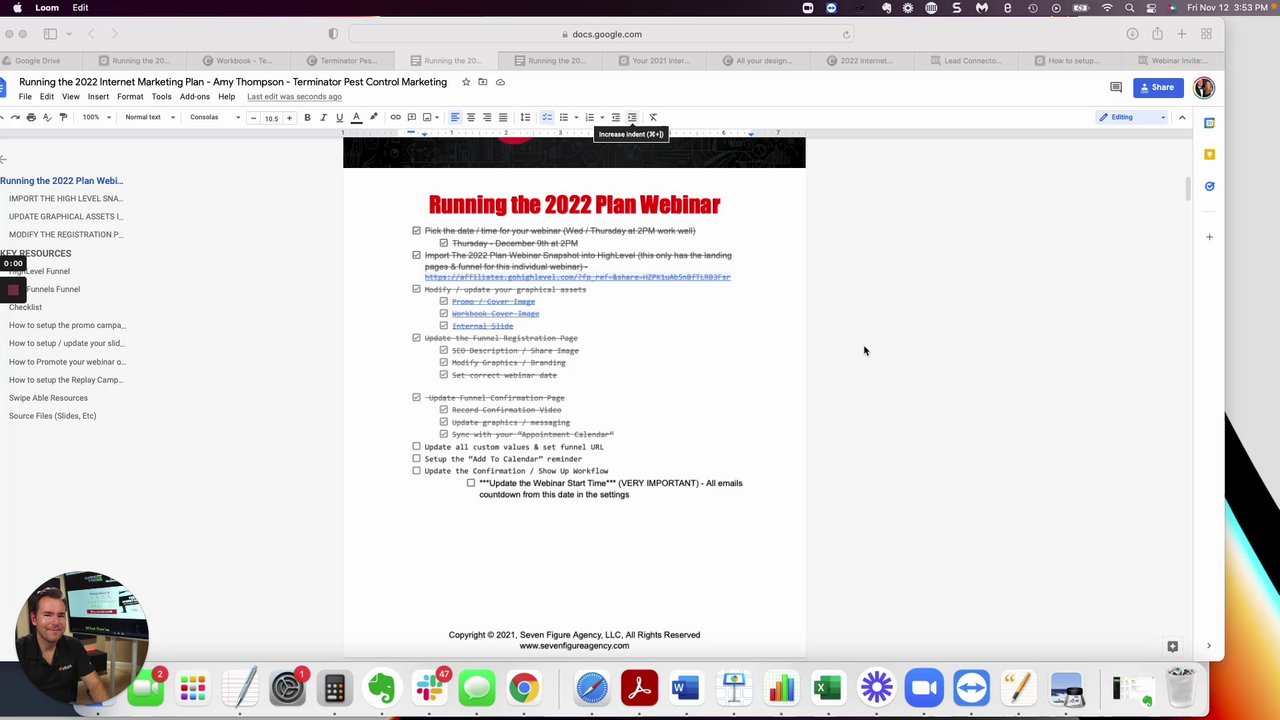
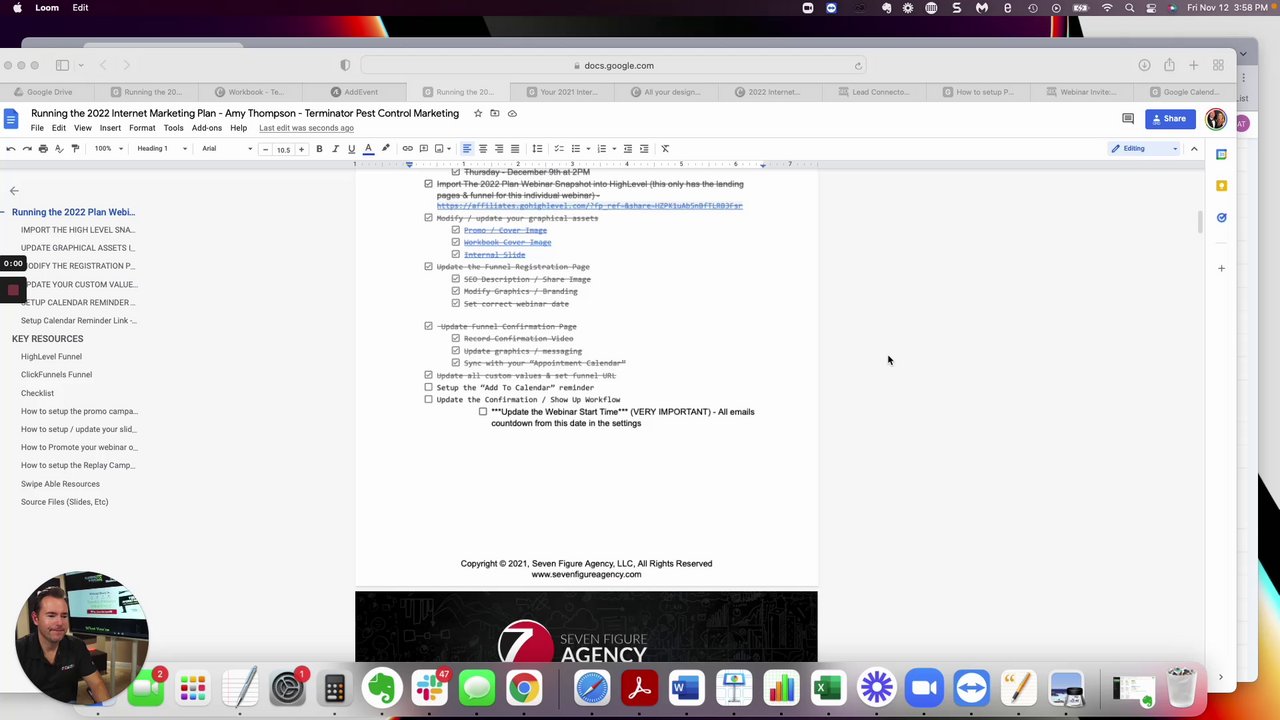
Work top to bottom every month. First month you build the funnel; every month after that you clone it. Check items off as you go, and type in this month's topic and date in steps 1 and 2. This device remembers both, so reset once next month's topic is set.
Plan the month
You. About 15 minutes.
Use one of the proven topics in the swipe files or choose your own. It has to be useful to your industry. Ten to twelve topics rotate every year with the year updated.
Wednesday or Thursday at 2 or 3 PM Eastern works across time zones. Put it on your calendar as a monthly recurring block (the third Wednesday or Thursday is the pattern). If a month conflicts, move that single instance.
Set up the funnel in HighLevel
First month: import and build. After that: clone and update.
Check first whether your account already has the webinar pages and forms.
Promo and cover image, plus the internal slide graphic.
SEO description and share image, graphics and branding, the correct date for the countdown.
Record the confirmation video, update the messaging, and connect your appointment calendar. This is the shortcut straight to a strategy session.
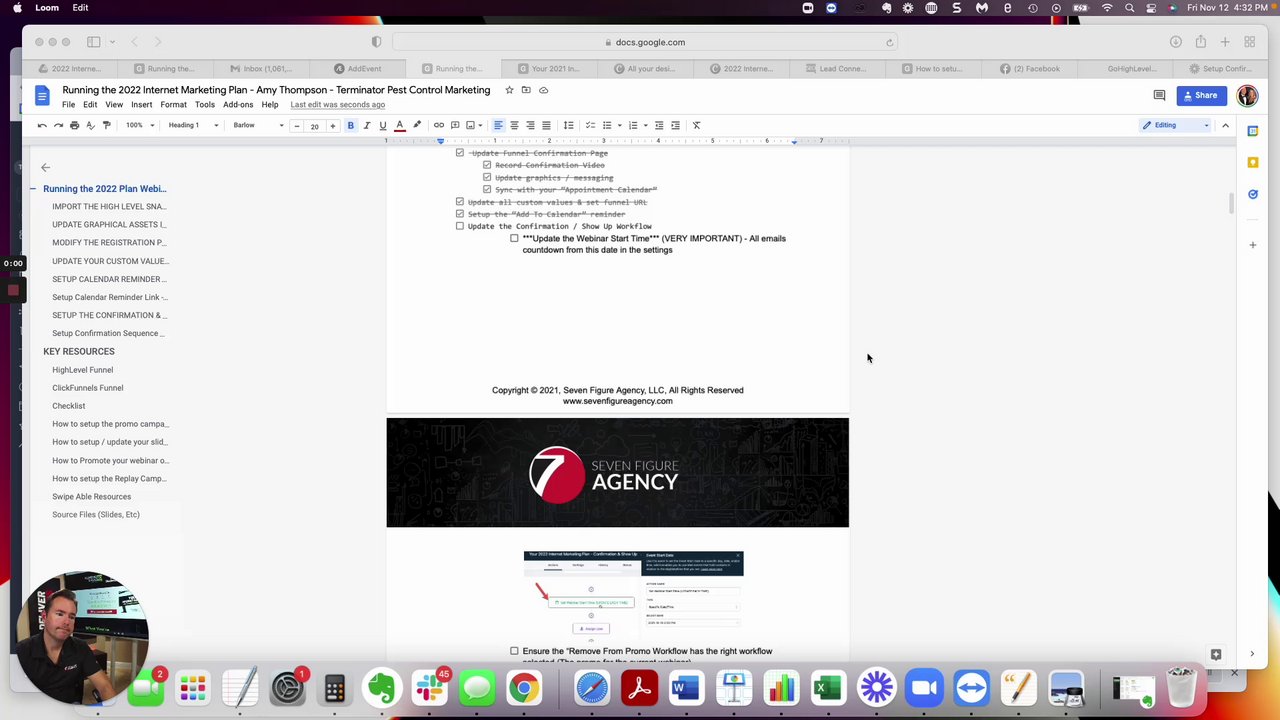
AddEvent or Google. If it is not on their calendar, they will not show.
Set up the workflows
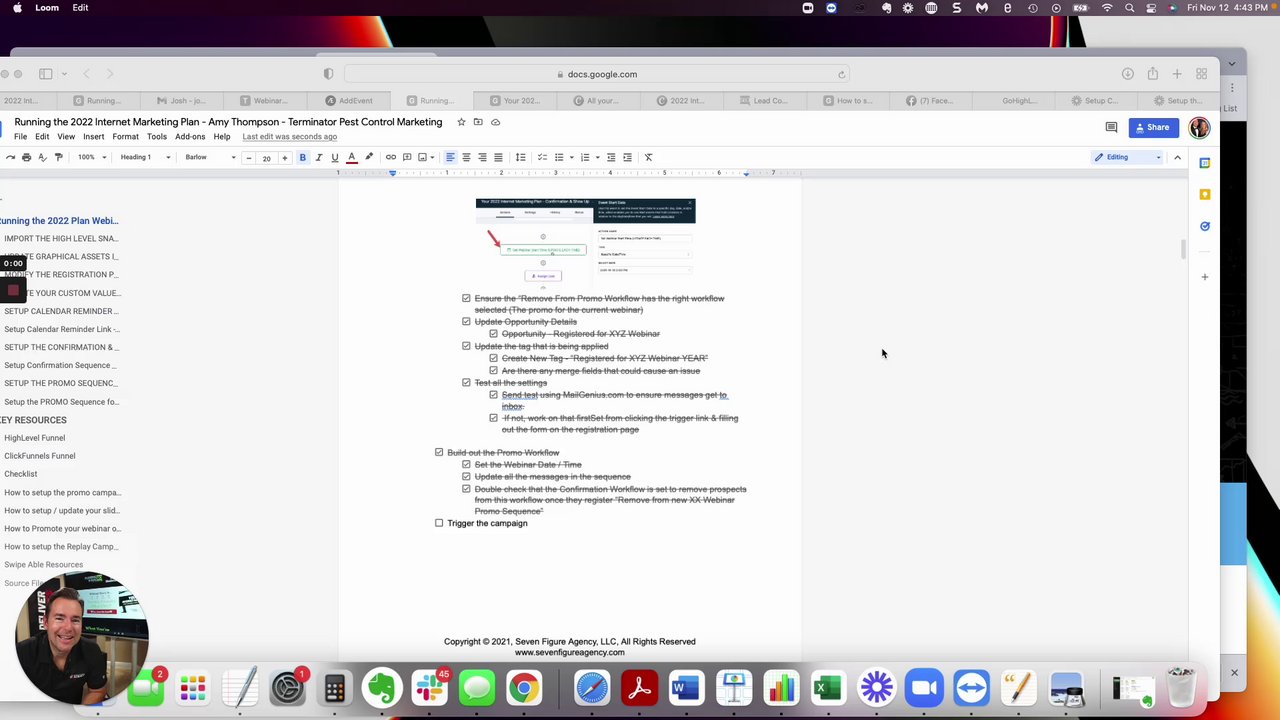
Set the webinar start time (every message counts down from it), point the remove-from-promo action at this month's promo, set the opportunity name and a new tag.
Set the date and time, rewrite every message for this topic, confirm registrants get removed from promo.
MailGenius for inbox placement, then register yourself on the live page and click every link.
Build the presentation
Start from the swipe deck for your topic. Swap the cover and internal graphics, fix the fonts, update the niche references, and add your stories and client data.
Promote
Starts 3 to 4 days out.
Company page, your personal profile, and your groups. Same copy as the emails.
Promoted posts to your retargeting audience (about $500; expect $30 to $35 per registration, and skip cold ads). Setters call or DM the list with the invite. Ask your association's chapters to share it.
Deliver live
45 to 60 minutes. Block 90.
Zoom meeting mode so you can see faces and run the chat (webinar mode if you expect fewer than five, and spotlight yourself). Descript records your camera and screen in HD alongside Zoom. Bullets on the slides, no script.
Offer the strategy session in the first five minutes. Pull up a client with real numbers every couple of modules. Close by describing the work they would have to do themselves, then offer to do the analysis for them.
Follow up and syndicate
Day after through the following week.
Replay email the next day, follow-ups at two days, three days, and one week. Everything points to the replay page with the booking CTA under the video. Do not gate the replay.
Attended or not. "We just wrapped the workshop on [topic]. Any questions? Want to get the one-on-one analysis scheduled?"
YouTube, email blast, blog post and podcast episode, short clips, social posts, long-term nurture.
Your calendar block already exists. Pick the topic, hand steps 3 through 15 to your team, and reset the list above.
Setting up the webinar funnel in HighLevel
Funnel pages and workflows, in the order you build them. First month: import the snapshot and build it out. Every month after: clone the funnel and the workflows, then update the dates, tags, graphics, and copy.
What the funnel does
- Registration page: the topic, the date, a form.
- Confirmation page: confirms, then offers to skip the webinar and book a strategy session now. This is where most of the opportunity flow comes from.
- Replay page: the recording on top, why to book below, calendar under that.
Live examples
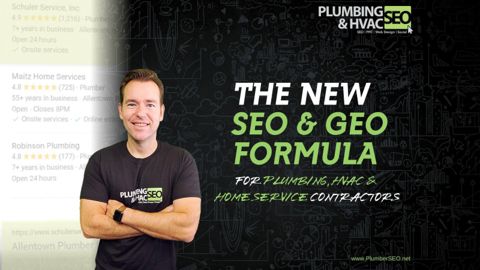
- Registration page (Plumbing and HVAC SEO, 2026 SEO Formula)
- Confirmation page with the booking shortcut
- Replay page with the CTA below the video
Import the webinar snapshot
Check whether your current snapshot already has the webinar landing pages and forms. If not, import the webinar snapshot. It brings in the funnel pages, the form and fields, and the workflows. Proceed with care, and loop in whoever runs HighLevel for you.
Update your graphical assets in Canva
Two assets every month: the promo and cover image, and the internal slide graphic. Swap the topic, the date, and your branding. The editable versions are in the member portal.
Modify the registration page and the confirmation page
Registration page
- SEO description and share image
- Graphics and branding
- The correct webinar date for the countdown
Confirmation page
- Record a short confirmation video
- Update the graphics and messaging
- Sync it with your appointment calendar
What the confirmation page and video say: Thanks for registering. You are going to get a lot out of it. But if you are like most companies in [your niche], you are really looking for someone who can execute this for you and get you the outcome. If that is you, let's sit down one on one, look at your current marketing, show you where there is room for improvement, and how to implement this right away. Pick a time below.Update your custom values and set the funnel URL
Webinar name, date, time, access link, and the funnel URL. Every email and page pulls from these, so get them right once.
Set up the calendar reminder link (AddEvent or Google)
The single biggest show-up lever. If the webinar is not on their calendar they will not show, no matter how many emails you send.
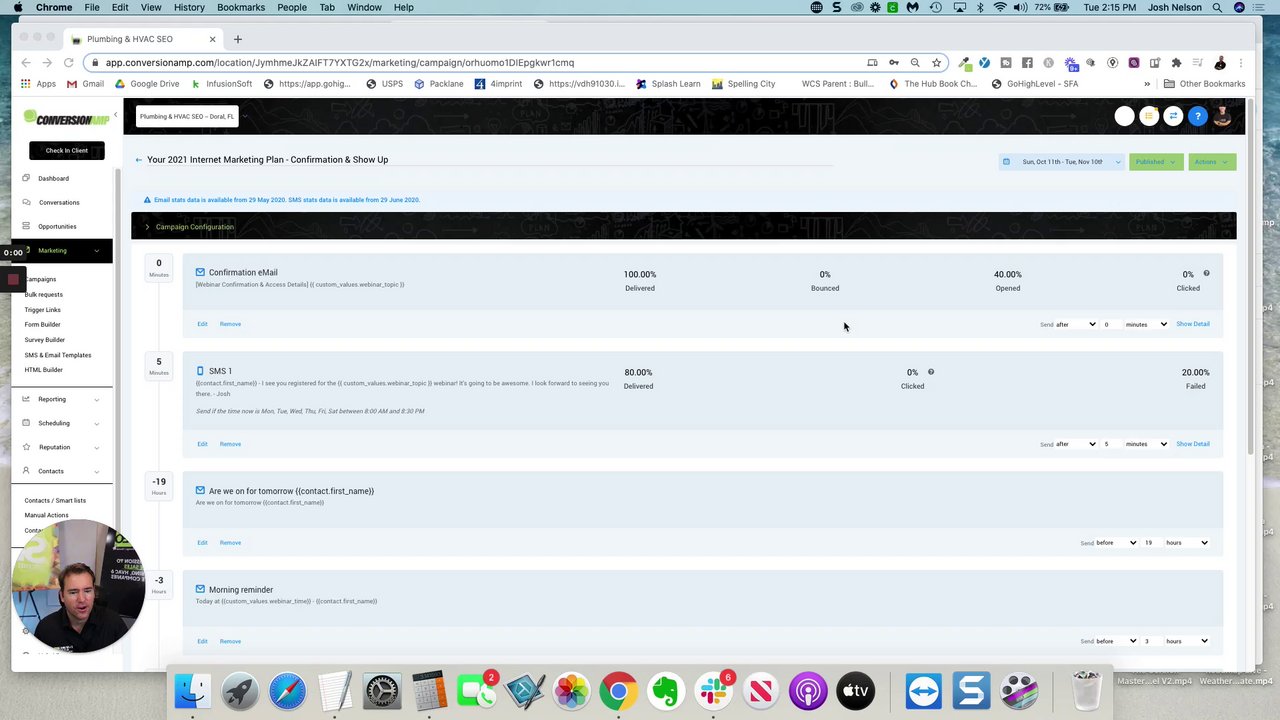
Set up the confirmation and show-up sequence
Update the webinar start time in the workflow settings first. Every email and text counts down from this date. Miss it and the whole sequence fires at the wrong times.- Make sure the "Remove from promo workflow" action points at this month's promo sequence
- Opportunity name: Registered for [Topic] Webinar
- Create and apply a new tag: Registered for [Topic] Webinar [Year]
- Check for merge fields that could cause a problem
- The sequence: confirmation with access details right after registration, a reminder the morning of, and a "starting now" message 15 minutes before. Add text reminders alongside the emails.
Set up the promo sequence
- Set the webinar date and time
- Update every message in the sequence for this month's topic. Paste the swipe copy and your topic into your AI assistant to draft it fast, then make it yours.
- Confirm the confirmation workflow removes people from this promo as soon as they register
- The sequence: 3 to 4 days before, 1 to 2 days before, the evening before, the morning of, and 15 minutes before. Social posts use the same copy.
Test all the settings
- Send a test through MailGenius.com to confirm the messages land in the inbox. If they do not, fix deliverability before you promote.
- Register yourself through the live registration page, click every trigger link, and watch the opportunity and tag get applied.
Kick off the promo campaign
Trigger the promo sequence to your list: every contact in the database that is not a current client.
Promote your webinar on social media
Company page, your personal profile, and the groups you are in, with the same copy as the emails. Optional on top: promoted posts to your retargeting audience, setters calling or DMing the list with the invite, and your association's chapters sharing it.
Kick off the replay campaign
After the live session: replay email the next day, a one-line check-in at two days, the "in case you missed this part" email at three days with a timestamp, and the "replay on demand" email one week later. Every link goes to the replay page, where the booking CTA sits under the video. Do not gate the replay for your list.
Swipe and deploy presentation files
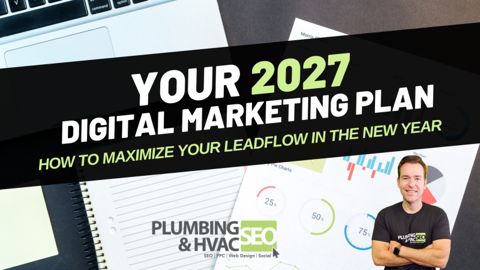
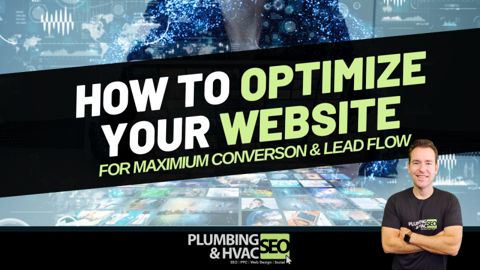
A complete kit for each proven topic: the deck, the setup instructions with promo copy, the editable cover and internal graphics, and a recording of the webinar as it was delivered. Open a Google Slides link to make your own copy.


How to update the deck
Every deck shares the same bones: a cover slide, an internal slide, and basic branding components. Swap those, then make it yours.
Swap the cover graphic and the internal slide graphic
From the Canva templates in the table, or the base templates below.
Fix the fonts, formatting, and niche references
Your brand, your industry, your language.
Add your stories, your client examples, and real tracked data
Spend, leads, cost per lead, where they rank. If the topic touches SEO, show clients appearing in generative search too. The data is what makes the deck yours and makes you undeniable.
Export and set up your links
Google Slides is recommended. Load the finished PDF on Google Drive and set up redirect links you can use during the live session.
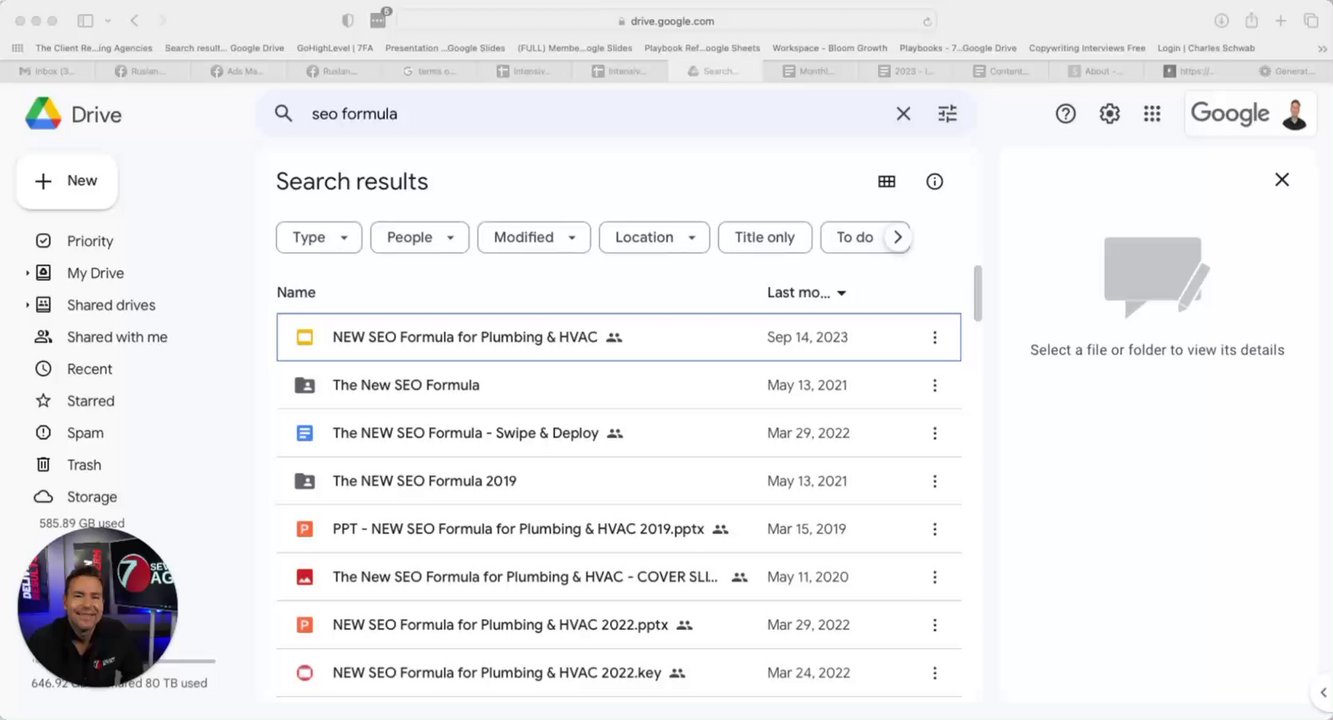
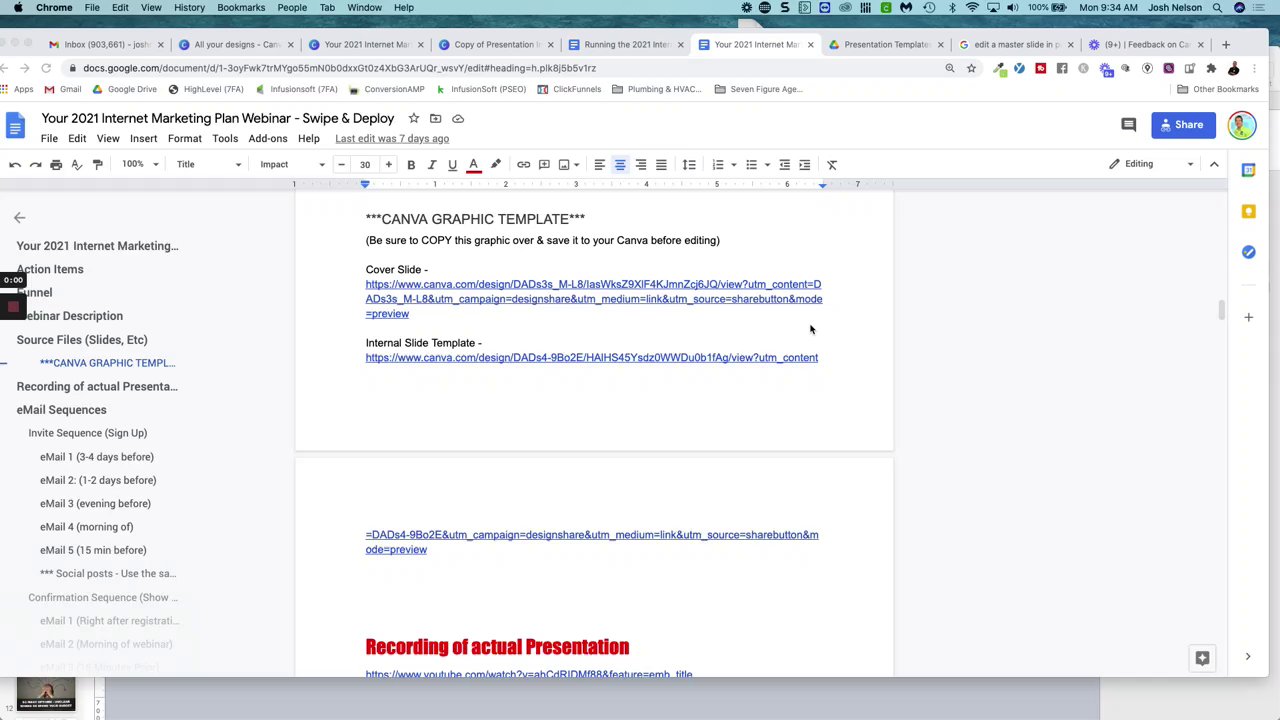
Base templates and graphics
- Base presentation templateGoogle Slides
- Base template in PowerPoint and KeynoteGoogle Drive folder
- Cover slide templateCanva
- Internal slide templateCanva
- Attendee workbook templateCanva
- Ultimate checklist graphicCanva
- Presentation worksheetGoogle Sheets
- Swipe copy for all email sequencesGoogle Doc
Syndication playbook
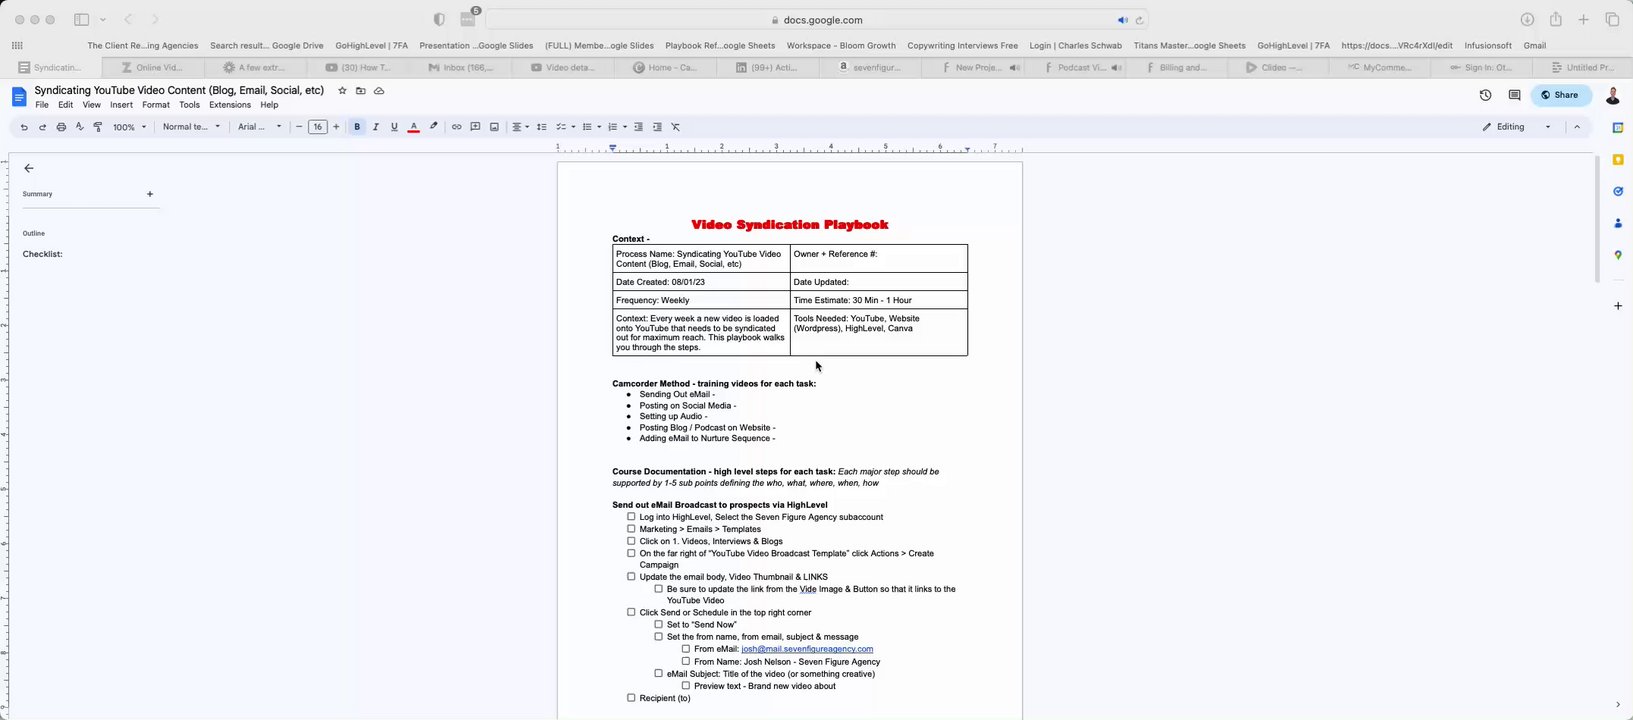
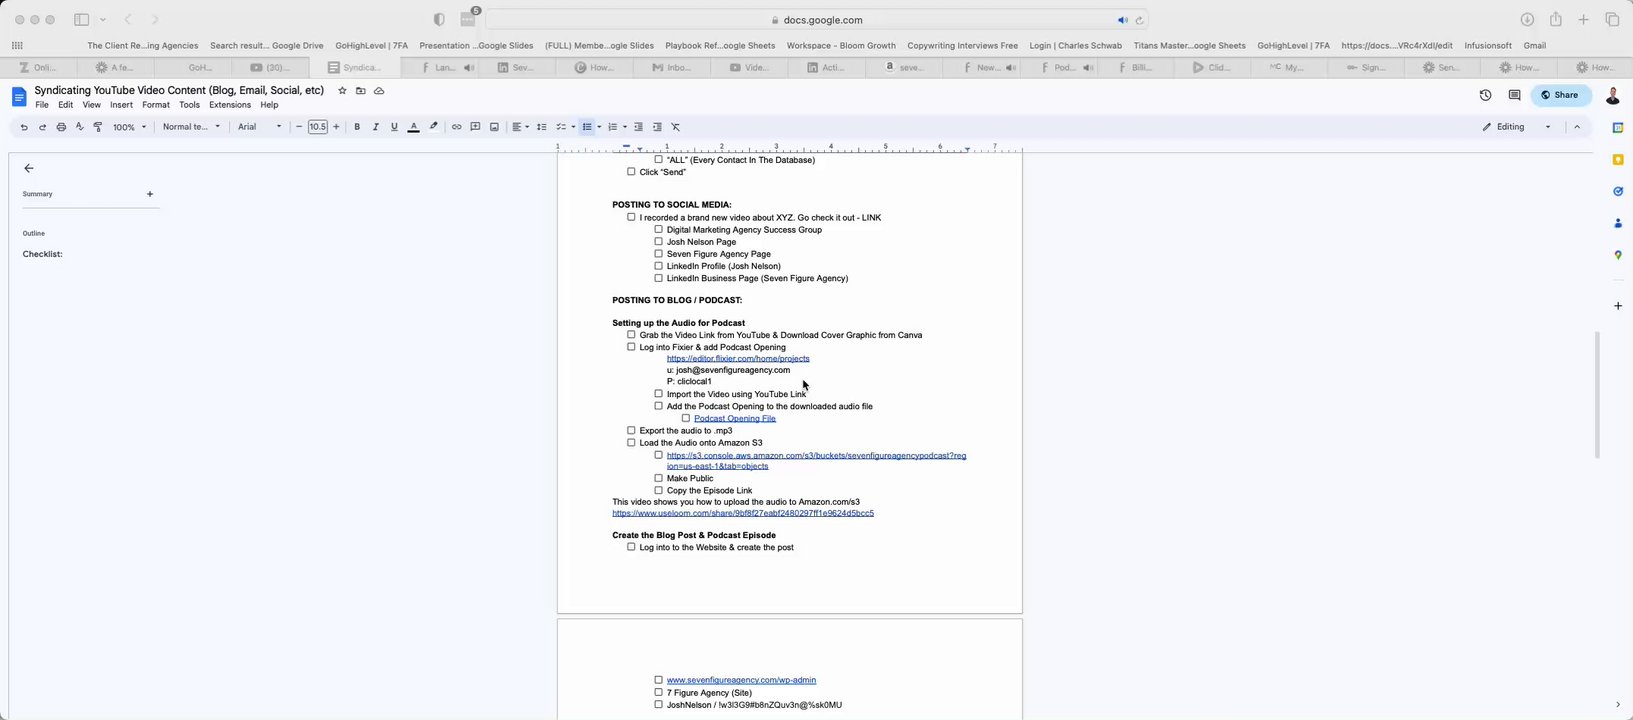
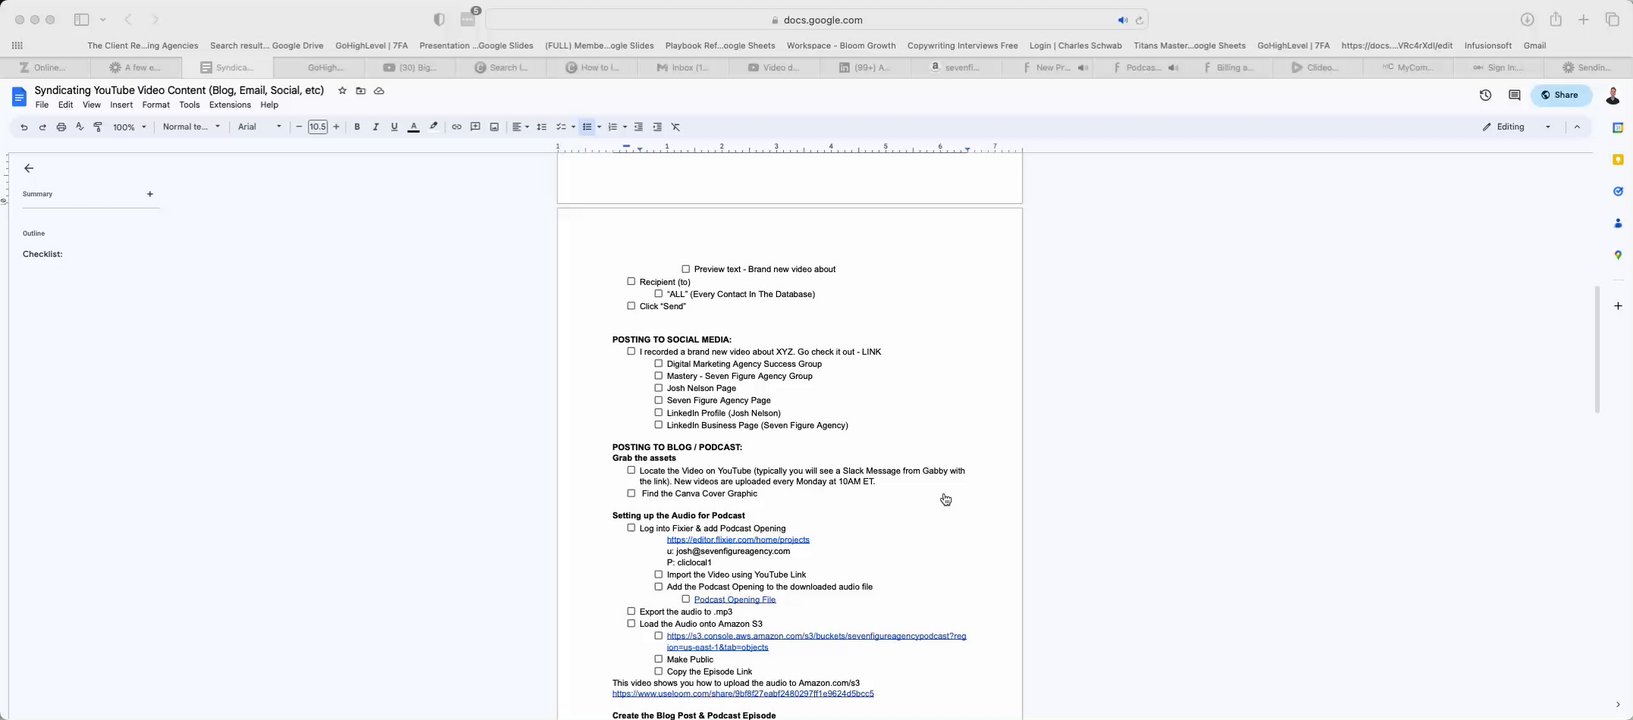
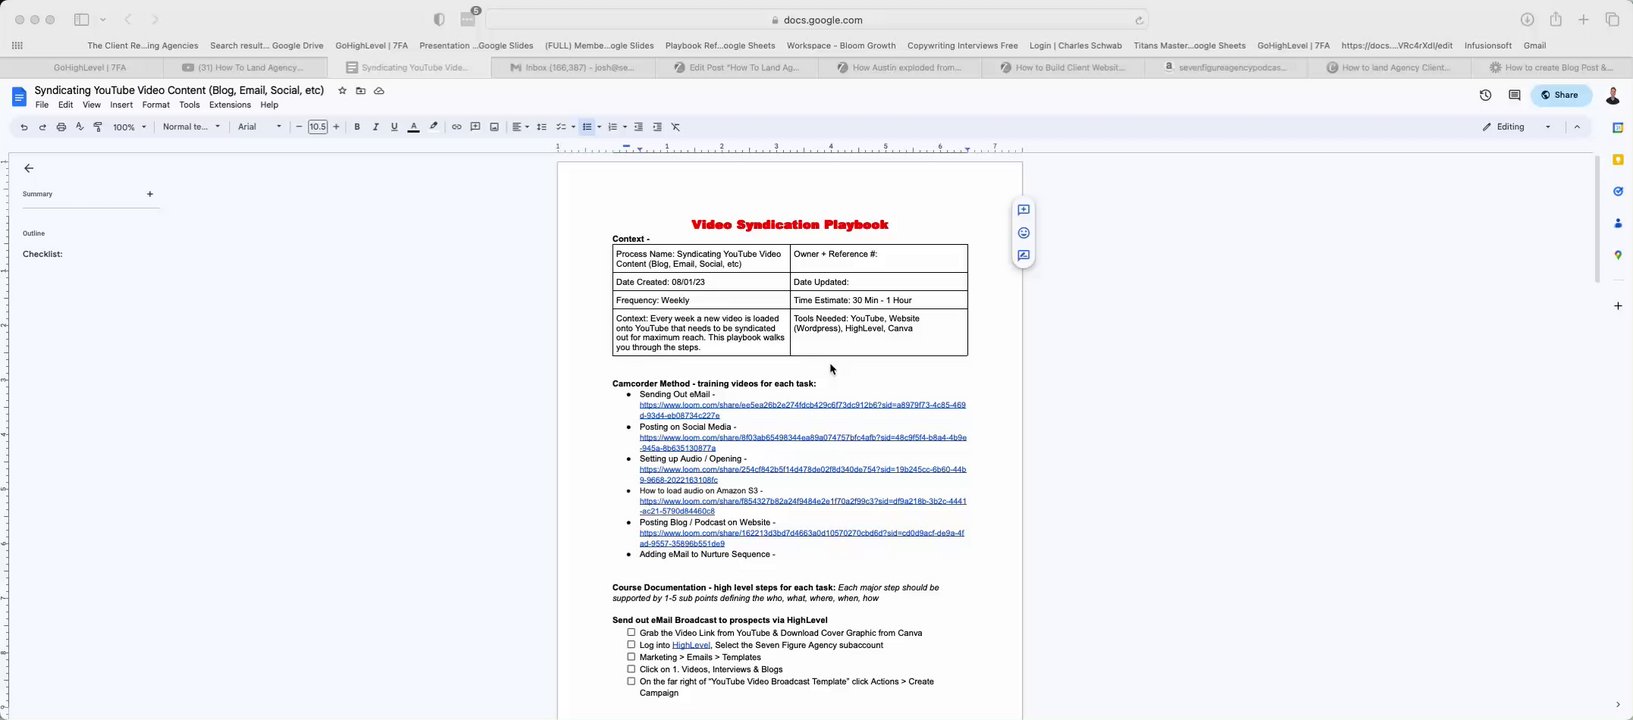
What happens after the webinar. One recording becomes the full video on YouTube, an email blast, a blog post and podcast episode, short clips, social posts, and an email in your long-term nurture. This is the process the Seven Figure Agency team runs; hand it to yours.
Process details
- Owner: your team, not you
- Frequency: every webinar (weekly if you also publish other videos)
- Time: 30 minutes to an hour per video
- Tools: Descript, YouTube, your website, HighLevel, Canva, Opus.pro, your AI assistant, a podcast host or Amazon S3
Start with the right file
- Use the Descript recording, not the Zoom export. It is HD, and the short clips cut from it look like they came from a studio instead of a screen share.
- Let Descript clean it up first: filler words, audio, color.
- Pull the transcript straight out of Descript. It feeds the description, the blog post, and the show notes.
Prepare the video and audio files
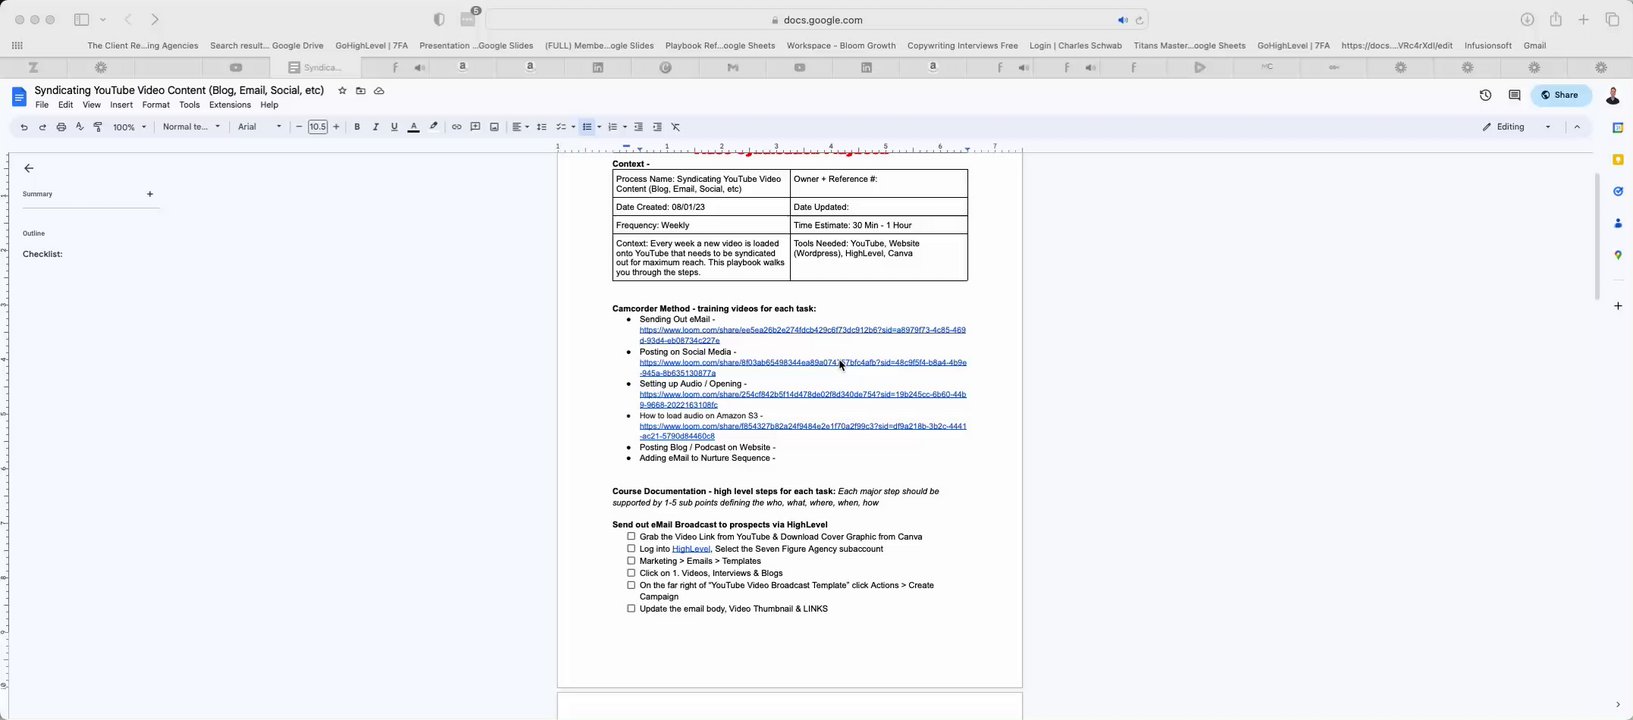
- Export the cleaned video from Descript. Download the cover graphic from Canva.
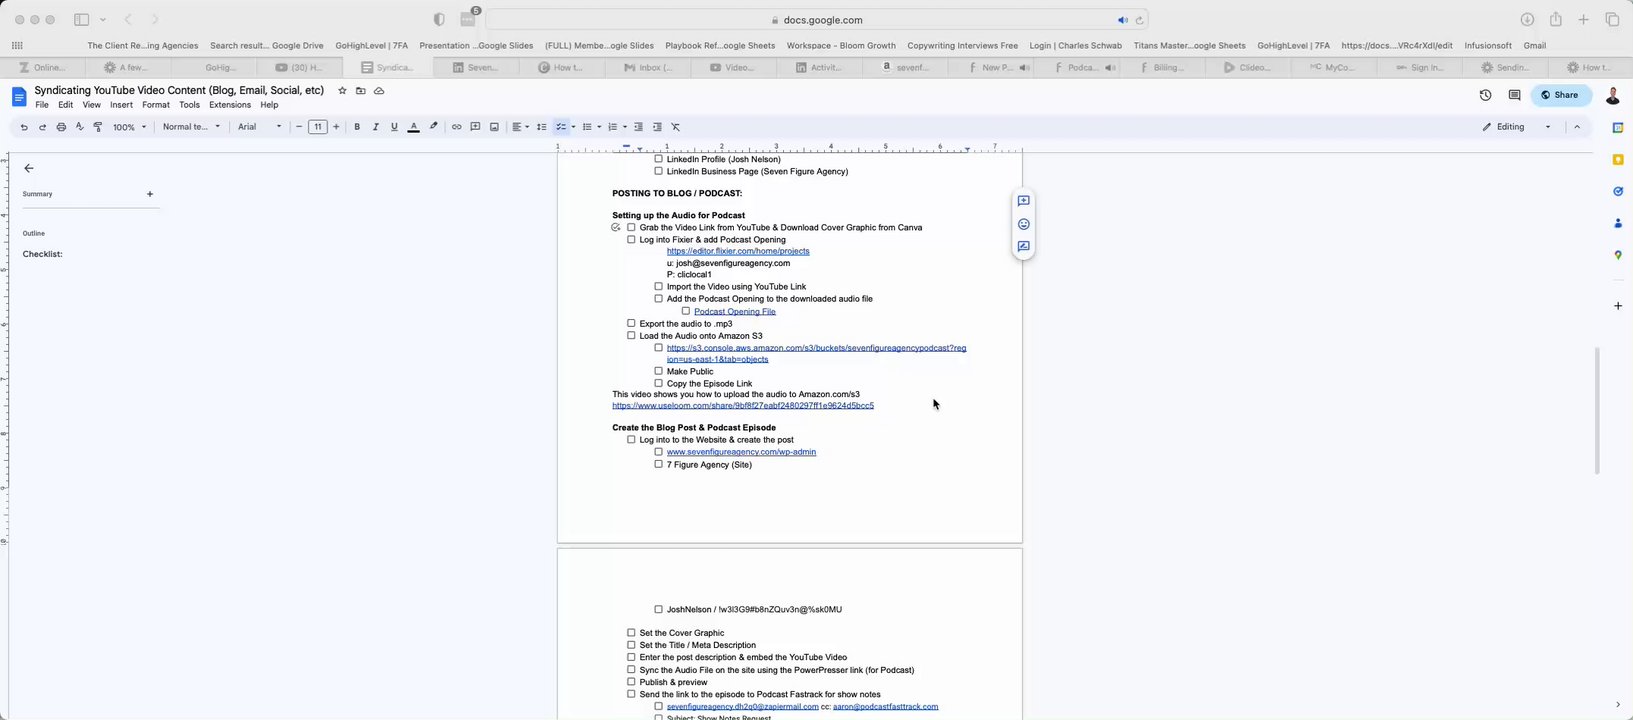
- Create the audio version: add your podcast opening to the audio track (in Descript, or in Flixier by importing the video) and export an MP3.
- Export the transcript.
Upload the full recording to YouTube
- Cover graphic as the thumbnail
- Description written from the transcript by your AI assistant: under 4,000 characters, keyword rich, with your booking link
- Grab the video link. Everything below points at it.
Send the email broadcast through HighLevel
- Marketing, Emails, Templates. Start from your video broadcast template and create a campaign.
- Update the body (draft it from the transcript), the thumbnail, and every link so the image and the button open the YouTube video.
- From name: you. Subject: the video title or something sharper. Preview text: brand new video about [topic].
- Send to every contact in the database that is not a current client.
Create the blog post and podcast episode
- New post on your site with the cover graphic. Title and meta description from your SEO plugin's suggestions.
- Introduction written from the transcript in a personal, low-key tone. Reword where it needs it and add links.
- Embed the YouTube video.
- Attach the audio file for the podcast feed (your podcast host, or Amazon S3 with a player plugin).
- Show notes and takeaways from the transcript.
- Preview and publish. The transcript-based post is authentic, keyword rich, and used to take hours. Now it takes minutes.
Create the short clips
- Pull clips that look good straight from Descript, or paste the YouTube link into Opus.pro and take the top five it finds.
- Schedule them to every social profile from Opus.
- Download two or three and post them to your personal stories with a link to the full video.
Post the video on social
"I recorded a brand new video about [topic]. Go check it out: [link]."
- Personal Facebook profile, your Facebook group, your Facebook page
- Instagram and TikTok
- Your LinkedIn profile and the company LinkedIn page
Add the email to your long-term nurture sequence
- HighLevel, Automations, your long-term nurture workflow (the one that runs after the initial opt-in)
- Scroll to the bottom, clone the last email, and update it with the new video
- Every new prospect now sees this webinar on their way through your nurture
Done when
- Full video on YouTube with thumbnail and description
- Email blast sent to all prospects
- Blog post and podcast episode live with cover graphic, embedded video, audio, and show notes
- Short clips scheduled to every profile, two or three on stories
- Video posted on every social profile, page, and group
- Email added to the long-term nurture sequence